Cinema 4D

- First, I added some primitive shapes, a cube, sphere and cone.
- I then played around with the shape positioning. Altered the sizes, placement, and rotation.
- I added a floor and then added a texture to it. Making it black/white checkered and adding a reflection effect to it.
- Texture and colouring was then added to the shapes. Adding reflection to them also, and lowering the brightness of that reflection to roughly 20% then applied it to each shape (this process was done three times but with different colours for each individual shape).
- I then added a light source (Omni Light Object).
- I increased the intensity of the light and positioned it to create long-drawn shadows.
- Once all work had been done, I rendered it, resulting in this.

- Fist I added a cube, I altered the size and fillet of the cube to give the main body of the ipod.
- Then added a plane and changed the position of it to create the screen.
- Then added a tube shape, flattened it and changed its size. This was to make the menu buttons.
- After that I grouped all the shapes and named the group "ipod".
- Put in another plane to create the floor, changing its height and width.
- Then started making some different materials that will then later be added.
- Made the green colouring, added reflection and changed brightness.
- Made another material with reflection, altered brightness and then put in the image for the menu.
- Same process again but inserted a screen image.
- Then applied these new materials to the necessary shapes and rendered it to finish.
Practicing with the Extrude tool:


First off I just placed some primitive shapes. A sphere, ring, and a cube. I used the extrude tool to stretch the cube and to cause one end to be narrower than the other. I duplicated that cube to make the second one.


Here I had started with a cube again, stretched it with the extrude tool and then using inner extrude, I pulled more cuboids out the sides of the original one. I then added some cubes to stick onto the ends of them.

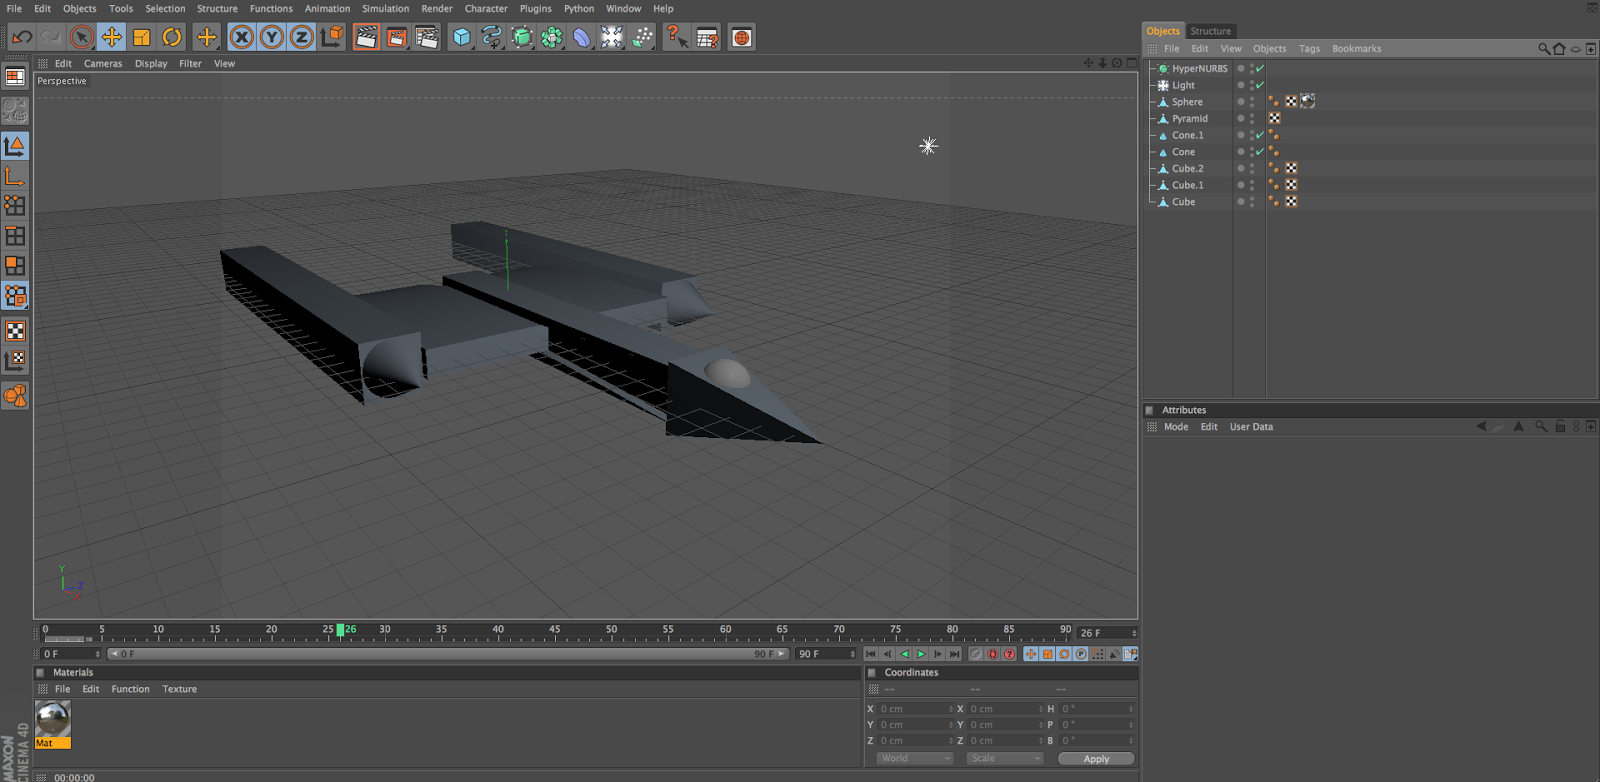
Using the extrude tool again I had altered some little bits of those shapes. Such as making some of the shape faces sink into the rest of the shape.


After that I used the hypernurbs tool which rounds off all edges and sort of morphs all those shapes together into one piece (so it looks). With some slight moving of shapes and adding in a light source I ended up with this.

- First I switched the perspective view mode to front front view mode.
- I changed the move tool axis setting to Point.
- Then with the Bezier Spline drawing tool I plotted a profile/outline of a wine glass.
- Within the Front View, I plotted the first point onto the X and Y axis position "0".
- Then I plotted the next point to the right/above the previous point and form the curve by dragging the handle upwards.
- Then I had to hold down the shift key and clicked on the top handle, dragging the handle to the right to change the direction of the next part of the path.
- I then plotted another line following the same curvature below the first and then held the shift key to change the direction of the handle downwards.
- I then made a straight line downwards for the stem of the wine glass and made a curve for the base.
- Finishing the plots with a straight line from the curved base to the centre of the Y axis.
- Then I selected the Lathe Nurb objective and placed the spline into the Lathe Nurb. This changed it from a half-drawn wine glass in 2D to a full 3D model.
- In the lathe nurb I increased the subdivision up to 50 from 24. This increases the amount of polygons used to create it. Resulting in smoother edges.
- Then I made a cube and increased it's size until the wine glass and light source were inside it, forming a "room".
- Finally I made some textures and applied them to the cube and wine glass.


- Within the front view, I opened the edit menu and selected Configure.
- Within Attributes manager for the front view I went into the "Back" tab and inserted an image of the perfume bottle above.
- Then I went into the Spline menu and selected the Akima spline tool.
- Using that, I outlined the right side of the perfume bottle from top to bottom (while holding down the cmd key), making sure my points touched Y axis at both ends.
- I then continued the line around almost parallel to the the first, this is to form the thickness of the glass body.
- I then used the Lathe nurbs and put the spline inside it to turn it into a 3D model.
- Finally, I added a floor and textures.


Here was the basis of creating a humanoid form. By downloading a side and front view bluepoint of a character I had some guide lines to follow when creating a character. I cut the side view from the image to result in two separate images. Dividing the screen to view different perspectives, I could then insert shapes and start forming them to mimic the shape of the character from all angles. To create it I originally started with a cube and made it the same width as the hips on the front view of the character. Then I divided the cube down the middle with the knife tool so we could mirror each side but there were technical issues with that so instead with lots of extruding of polygons and pulling around certain points, I had made a torso with arms and the beginning of the legs.
We were then tasked with creating our own character model to then create in Cinema4D. I was heavily influenced by "Flanimals". Here are a few pictures of what inspired my design:


Here I have designed a character which I will attempt to make in Cinema4D:


I started making the feet first. Using a cube to begin, I altered it into a rectangle. Then using the extrude tool I made one end of the rectangle smaller than the other. Using hyper nurbs on the rectangle, it rounded off the edges. I then added spheres for the heel and toes. Finally, I altered the foot shape with the extrude tool.

The body was simple. I created a sphere, I squashed it a little bit with the scaling tool and then selecting a couple of polygons on the side, made the initial beginnings of the arms.

The arms were just throwing some cylinders and spheres together. The fingers were using the matrix extrude tool on certain polygons on the sphere that is the hand. I'm unhappy with how this turned out so I'm going to re-make them trying out some other methods.

Using the extrude tool again, I had sunk the mouth into the body. I selected a number of polygons on the body to shape the mouth. I also added some more spheres for the eyes.

Adding even more spheres, I had created eyelids. The mouth had been changed, instead I added a capsule which is going to be the sort of bulge of the lower lip. After everything else is done I plan to draw a sort of "slit" to give the impression of the crevice of the mouth.

I changed the arms by using spheres and the tool metaball. Once one arm was made I used the symmetry tool to mirror it to the other side. I then added in the landscape shape and enlarged it for a my character to stand on top of it. After that I used another cube to box everything in, also becoming the sky. Next, I made the textures. Looking at the Flanimals that inspired my design, I felt they looked somewhat like playdough. So, I searched for a playdough texture and took it into photoshop to change the colour to purple. I then tweaked some bits of the texture (adding a bump-map) so the texture wasn't flat and smooth.


Evaluation
As you can see, I have been 3D modelling. Our task was to design and create a character, and then to place that character in to a 3D environment. My character looks more like an unusual creature than, let's say, a main character. So, I thought maybe adding a few of these creatures to make a little group would look better than just a stand alone creature in a barren environment. I wanted the character to look somewhat out of place in this environment. The creature is round and blobby for the "rocky" environment in which they traverse.
I have learned how to use many different tools in Cinema 4D. Before starting this unit I had no idea at all how 3D model. Thanks to the tutorials and tasks we were set, I have learned how to create this without the need of instructions and what not (although I did need some assistance when using new tools I'd not used before). As I've previously known, my abilities with computer software seem fairly limited, nor am I much of an artist. After I had created the creatures, I made "materials" to apply to them. From the look of their "blobby" physique, it reminded me of Playdough. So I searched the web for a Playdough texture which I then changed the colour of in Photoshop for each one of the creatures.
I created this for this Unit of the course. But what I have learned will definitely come in handy for future modelling, which would be needed for continuing a career in games design.
I quite like how the cartoon-look came out, with the bright colours and the fairly smooth textures. But I feel the lack of detail makes it look some what amateurish and un-professional, again with the simple shape of the creatures, it looks pretty simplistic. However, I did achieve the look I wanted to create. If I had spent more time on it, I think I could have made the arms a bit better and made the environment a bit less empty by adding in a few things, trees maybe?
I think if I had done more tutorials and learned the software better (that being a greater knowledge in using different tools). I think the concept is good and I'm happy with it, but the execution could have been better. Maybe putting more time into trying different tools and maybe some environment sketches to develop a more elaborate scene.
No comments:
Post a Comment